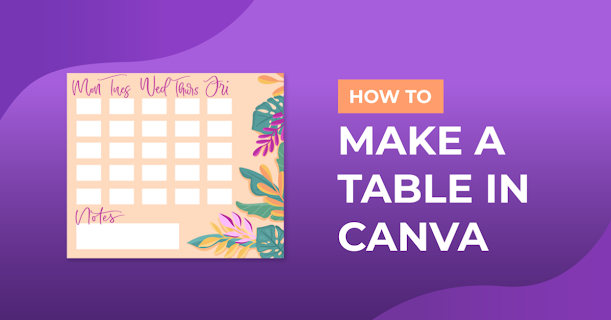
Microsoft Excel, Word and Google Sheets are the simplest and fastest table creation tools. However, creating a table easily means that it will not be beautiful and attractive. Luckily, the graphic design tool Canva can help create tables that are both eye-catching and easy to make.
Since Canva doesn't provide any built-in options or templates for creating tables, people will need to draw the table themselves or edit one of the templates. Let's learn how to create and customize a table in Canva.
How to Create Tables in Canva?
Step 1: Press the Create Design button, and select a suggested option. Alternatively, tap Edit Photo to upload your image and edit it.
Step 2: A new design window will open. Switch to the Elements tab in the left toolbar, under Strokes
You can also use the toolbar at the top to change the line style, color, and thickness.
Step 3: Add other line styles (dotted, arrows,...) from the Components tab to draw columns and rows in the table.
Step 4: When the table is ready, click on the Text tab to enter data into it. Choose from the available text styles to create a text box. Press the letter T on your keyboard to quickly add a text box.
People can also use the padlock icon in the top right to freeze specific components after adding them. In this way, it is possible to avoid moving them while working.
The new board is ready and can be downloaded as an image, PDF or GIF using the Download button at the top.
How to create a table with an existing template in Canva
While drawing tables in Canva is pretty easy, it's not the most optimal method when people are short on time. So, if you're looking to create a table quickly, use one of Canva's built-in templates to help speed up the process.
Currently, Canva doesn't have many dedicated templates for creating tables, but editing one of the Calendar templates to create your own table is a quick and aesthetically pleasing way.
Step 1: Navigate to Canva's website and type "Calendar" in the search box at the top. From the results that appear, choose the most suitable template according to your requirements.
Step 2: Once the template opens in the design window, it is ready to be edited in every aspect including text, lines, design, colors and more.
Select each unnecessary component and click the trash can icon on the top right to remove it.
Step 3: Next, the user can add text boxes by accessing the "Text" tab on the left or editing the existing text boxes in his template.
Adjust and add some things like photos, and stickers,... in the "Elements" tab to make it more interesting and eye-catching inside and around the board.
Change the table size
To resize the table, one needs to group all the elements in the table by pressing Ctrl-A to select the entire line and text box in the template. Now click on the Group button in the top right corner.
Select all the lines and text boxes then, move the cursor to the edges to resize the table from there.
Change Background
If you want to change the background of the table, click the color icon in the top left and choose an existing or custom color.
Insert new component
Canva also has a rich library of unique elements to add to the table. Click the Components tab, explore the library, and select any decorations people want to add.
In addition, users can add their logo by inserting it as an image. Open the Uploads tab and click the Upload button, select an image to insert. Then just resize and edit it as you see fit.
Conclusion:
When we don't have a schedule table, we often have no control over our workload and timing. That's why it's easy to forget and put work on the next day. This will cause the work of the week of the month to be stagnant and cumulative, and it will be very difficult for you to complete it all as expected.
But, If you want your table more inspired at work, let's design the table in a way that best suits us in terms of aesthetics and as well as the layout of the table, Canva is also a good choice for us to design. Create an eye-catching table as well as the best layout.
Hope you can make a table as your wish. See you in the next post^^


